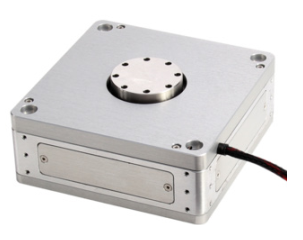
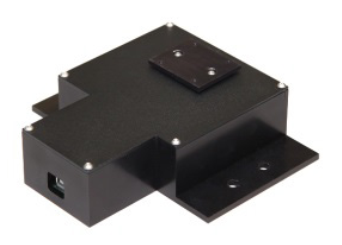
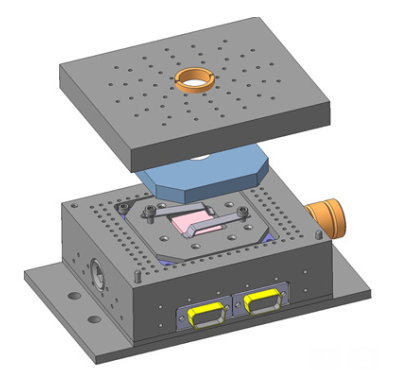
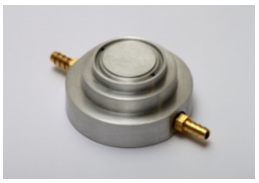
NIOS Products

|

|
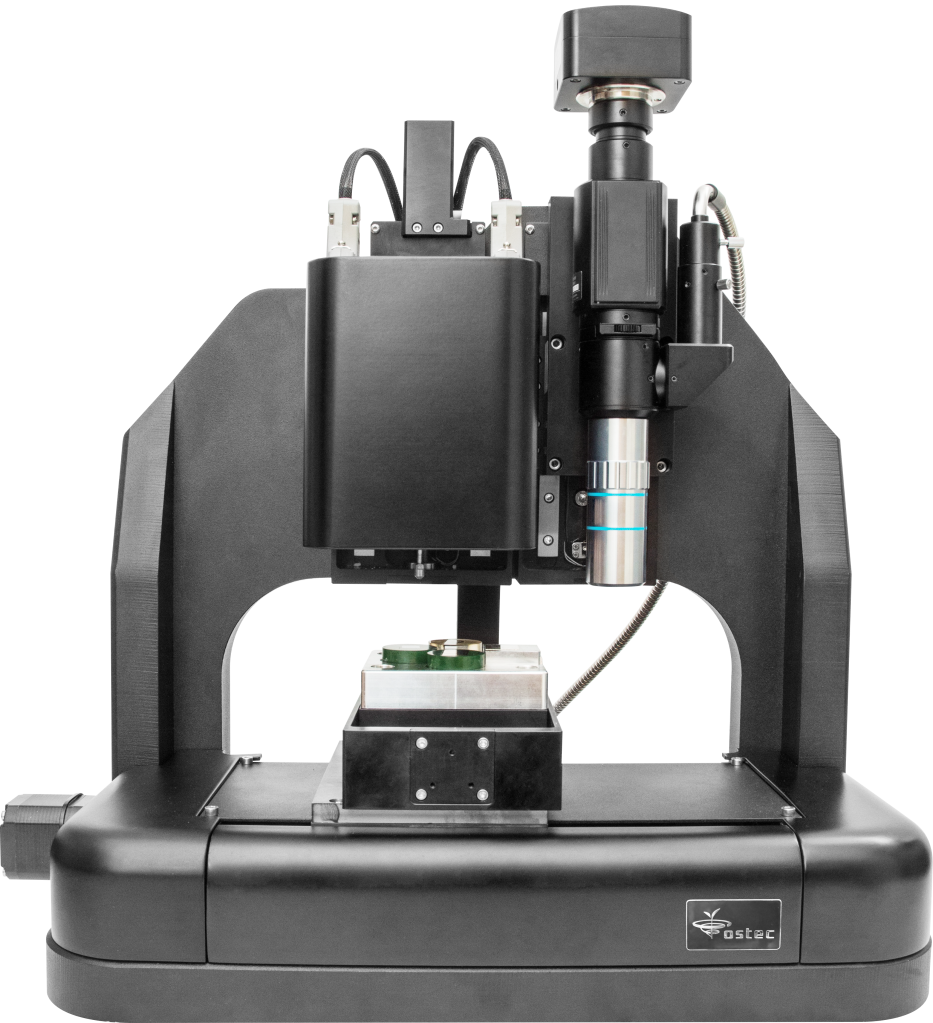
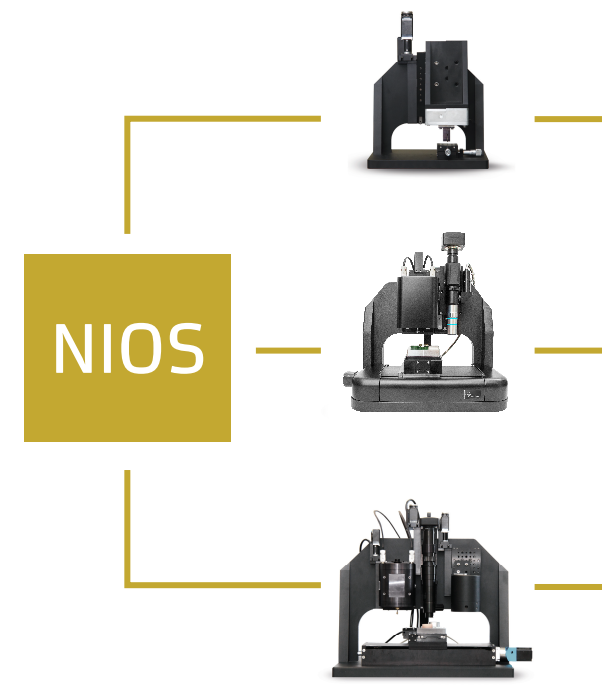
NIOS Standard
|
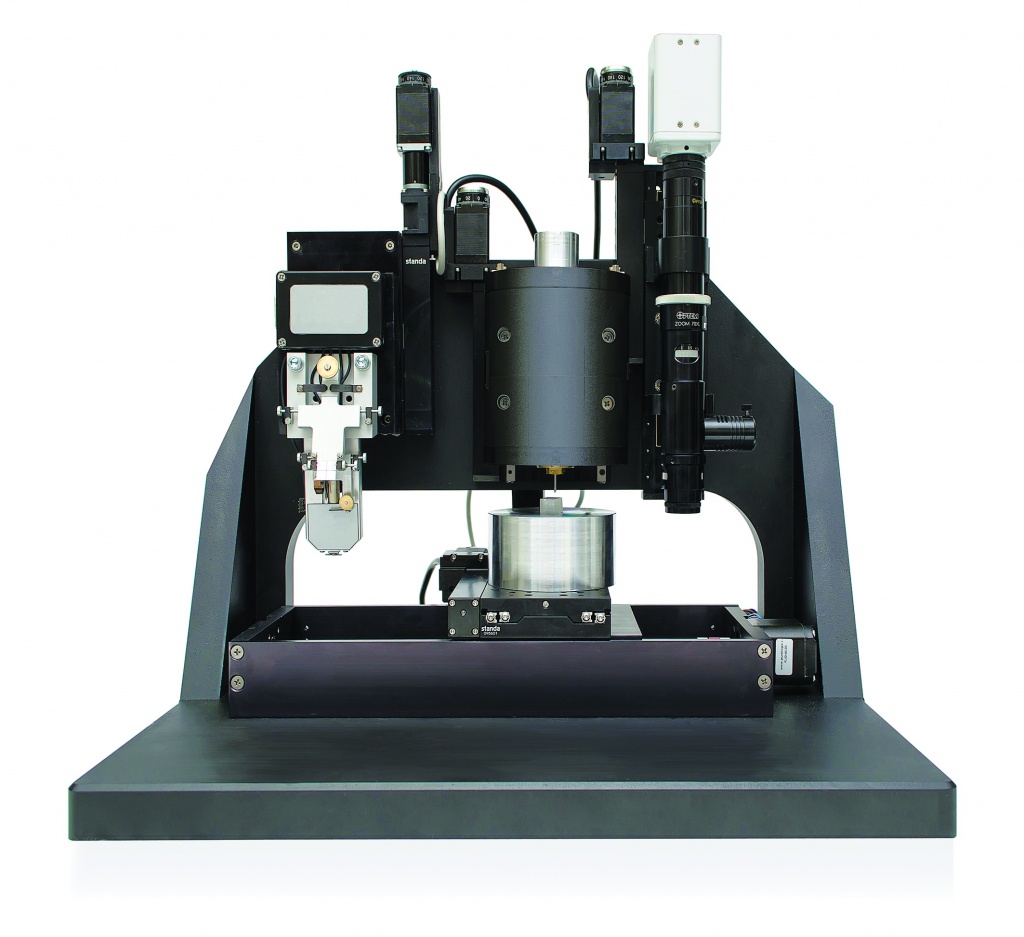
NIOS Advanced
|
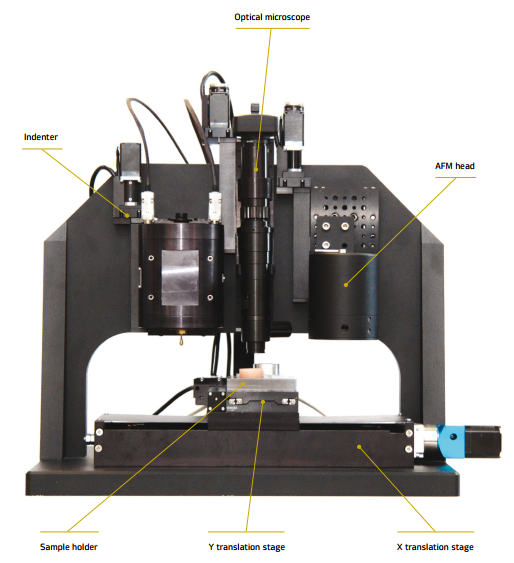
The NIOS series of nanomechanical testers is available in three platforms: NIOS Compact, NIOS Standard and NIOS Advanced. Depending on the size of the selected platform the device may comprise one, two of three of the following measurements modules:
- Wide-range nanoindenter
- Scanning nanomechanical tester
- Atomic force microscope
- Optical microscope
Special modification of NIOS Standard instrument can be equipped with three-axis heterodyne interferometer used for application in linear displacements nanometrology.
Depending on the type of the platform, one extends the capabilities of the instrument with additional options such as a lateral force sensor, heating stage, high load option, acoustic emission sensor, reciprocating wear module, etc.
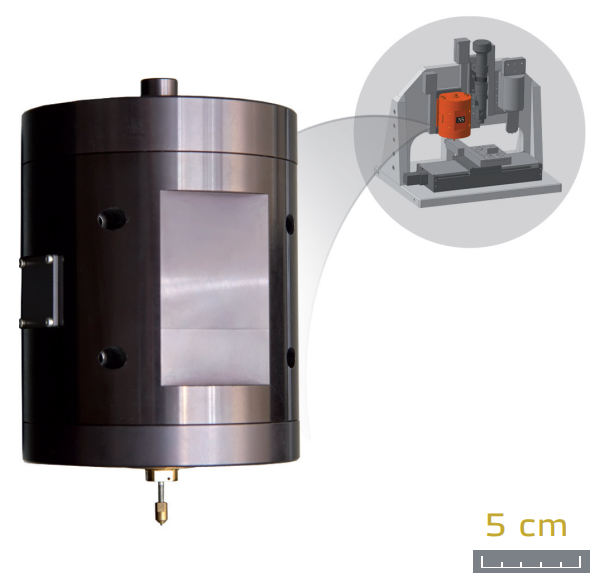
Wide-range nanoindenter module

Purpose:
The wide-range or instrumented nanoindenter module is designed to measure the mechanical properties of various materials using a wide range of applied loads and depths. The range of application spreads from sufficiently hard materials (sapphire and harder) to quite soft polymeric materials, plastics and some sorts of rubbers. This capability to conduct a measurement for the different types of materials is provided by the big displacement range of the shaft and by the method of load application.
This module is also used for the wear resistance measurements as well as for the scratch testing, which can be used for the mechanical and adhesive properties measurements. Using lateral force sensor it is possible to measure a lateral force and a friction coefficient.
Modes and methods:
- Instrumented indentation in accordance with ISO 14577
- Vickers hardness measurements
- Scratch tests (hardness measurements by scratching) with constant or variable load
- Dynamic stiffness measurements
- Beams and membranes stiffness measurements
- Hardness and elastic modulus dependency of the indentation depth
- Automated mapping of two- and three-dimensional hardness and elastic modulus distribution over the surface within the area of 50x50 mm
- Adhesion characterization by the scratch method
- Measurements in liquids
- Additional option for the loads up to 30 N
Technical data:
- Load range: 0,1 mN - 2 N;
- Force digital resolution: 0,2 µN
- XY positioning: motorized XY stage 1 µm accuracy
- Mostorized XY area 160x50 mm
- Measurement range of Z-axis not less than 300 µm
- Z-axis resolution: 0.1 nm
The indentation module has 4 basic operating modes:

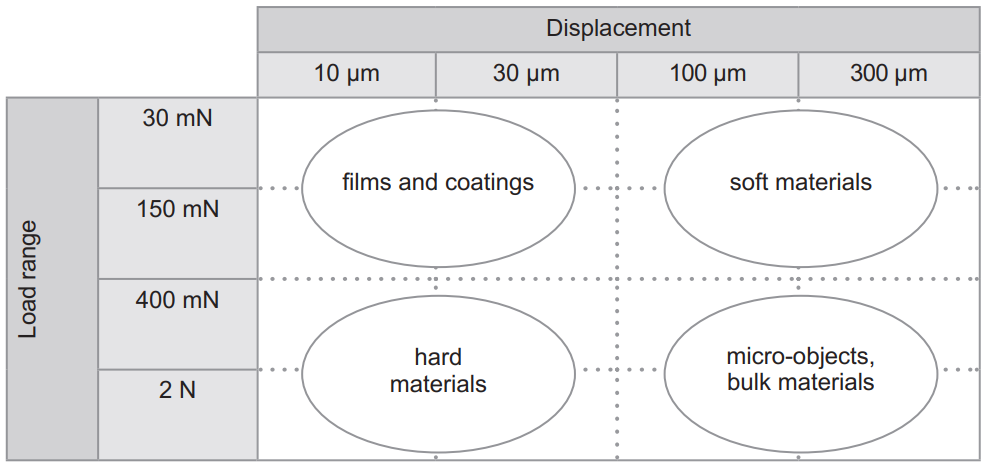
Force and displacement ranges

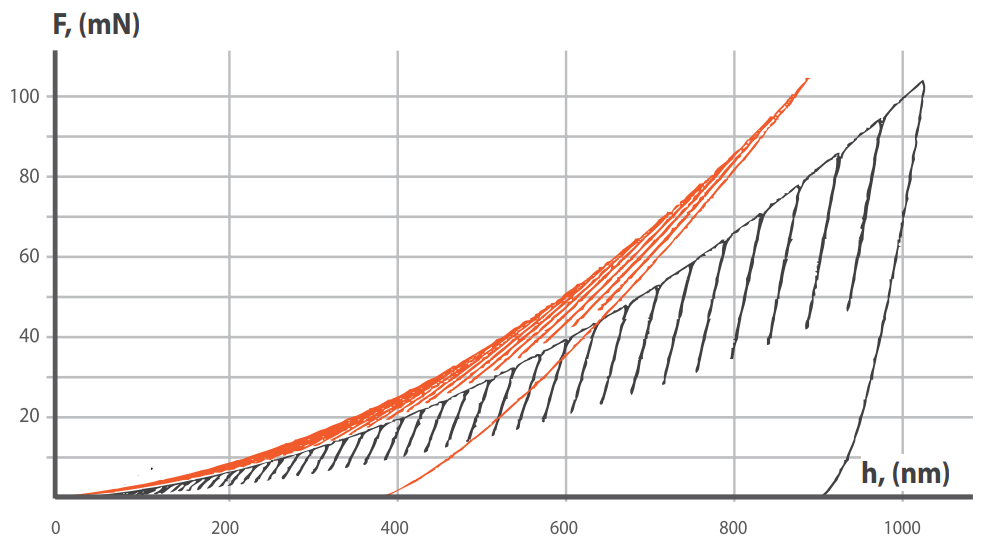
Load displacement curve for the partial unloading indentation. Red curve: fused silica, black curve: steel
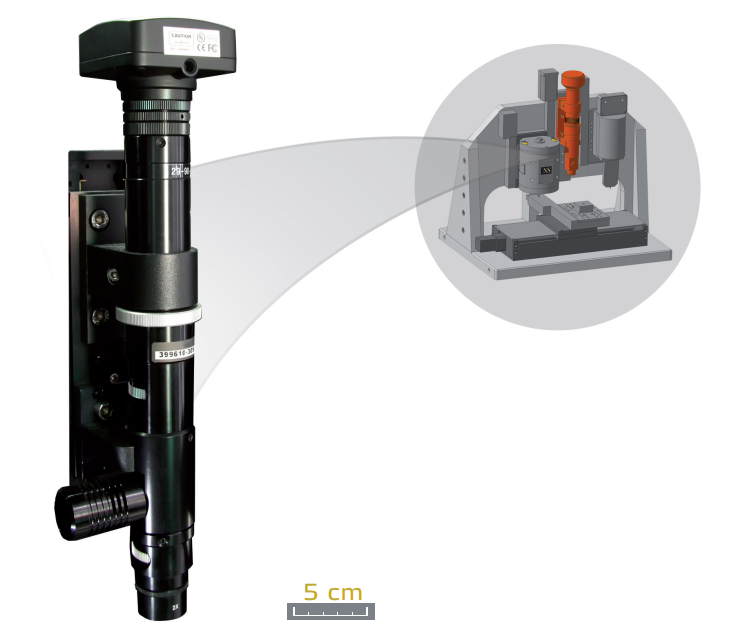
Optical microscope measurement module

Mono-zoom video microscope with CCD camera. The microscope is used for selection of the measurements position for the AFM and the wide-range nanoindenter / scanning nanomechanical tester modules. It is also used for the measurements of the dimensions of indentation imprints, microelements, microcrystals within metals, composites, powder grains, electrical boards’ paths, MEMS and others.
Wide range of illumination options are possible: unshaded circular; optical fiber; fluorescent, coaxial, LED. Polarization set option is possible.
Modes and methods:
- Hardness measurements according to the residual imprint area or scratch width
- Crack analysis (fracture toughness)
- Grain size analysis
- Grains size distribution function
Technical data:
- Digital zoom up to 1500x
- Smooth optical zoom change: from 0.58x to 7x
- Field of view: from 1.57 x 2.09mm to 0.13 x 0.17mm
- Working length: 35mm
- Digital USB camera
Zoom adjustment:
- Manual click-stop zoom
- Automatic zoom
Additional functionalities:
- Auto focus
- Automatic field of view scaling during zoom changing
- Illumination irregularities correction
Scanning nanomechanical tester module

This module is purposed for complex research of mechanical properties in loads range up to 100 mN by using indentation and scratch methods. It's also used for materials surface research in a semi-contact SPM method.
Modes and methods:
- Semi-contact dynamic topography scanning
- Indentation and scratching with a given load or depth
- Scratch hardness measurements
- Hardness measurements by residual indentation imprint
- Mechanical properties measurements by instrumented indentation in accordance with ISO 14577
- Elastic modulus measurements by force spectroscopy
- Materials and thin coatings mechanical properties measurements (hardness, adhesion, coating thickness) by scratching with variable loads
- Wear resistance measurements of thin coatings
- Surface profiling
Technical data:
- Measurement range of X and Y axis not less than 100 µm
- XY positioning resolution: 1,5 nm
- Measurement range of Z-axis not less than 10 µm
- Z-axis resolution: 0.5 nm
- Load range: 10 µN - 50 mN
- Force digital resolution: 25 nN
Three-axis heterodyne laser Interferometer module

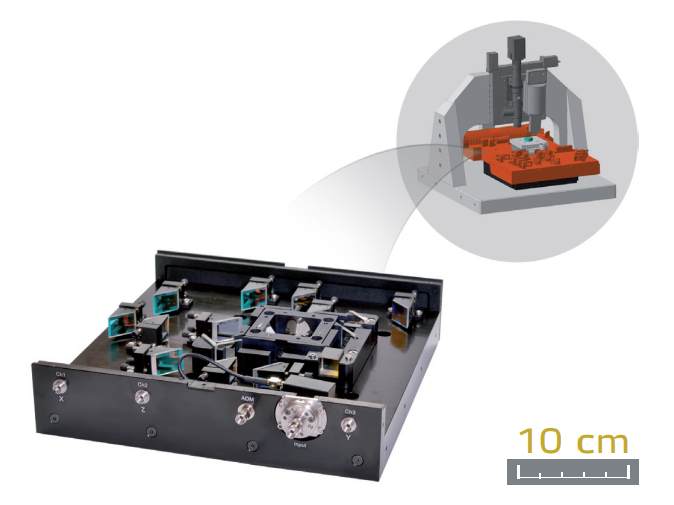
The interferometer module is intended for the metrological measurements of surface structures. A source of radiation is a single-frequency stabilized He-Ne laser (power 1 mW, wavelength 632,991084 nm, the relative instability of optical frequency no more than 3.10-9 during 8-hour work).
This module is purposed for the determination of a metrological characteristic of other SPMs, for providing accurate measurements of the linear dimensions at the nanometer scale and for a nanotechnology product control.
Modes and methods:
- Hardware and software compatible with a general-purpose measurement module
- Hardware and software compatible with an AFM module
- Surface topography mapping during SPM and AFM modes of scanning
Technical data:
- Measurement range of the XYZ axis: 500 µm
- Resolution of all three axes no less than 0.01 nm
- Noise level of the interferometer RMS in a frequency band from 1 Hz to 1 kHz no more than 1 nm
- Nonorthogonality of axis displacement measurement: 0.01 radian
- Phase displacement range: ±1*104 radian
- Phase displacement resolution: 10-4 radian
- Time measurement resolution: 1 ms
- The maximum rate of scanning: 100 µm/s
- Heat release in a working area no more than 5 W

|
NIOS Compact
|
NIOS Compact is designed for small samples surface mechanical properties research. This device uses the methods of scanning probe microscopy, instrumented indentation and scratching with a load range up to 100 mN. This model is intended for physical and mechanical properties study at submicron and nanometer linear dimensional scale.
|
|
NIOS Standard
|
NIOS Standard incorporates hardness, elastic modulus (and other mechanical parameters) measurement methods. Scratching, static and dynamic indentation are also implemented in this instrument. This model provides the possibility of semi-contact surface topography profiling. Optical microscope ensures high accuracy of positioning of the indenter and the sample.
|
|
NIOS Advanced
|
NIOS Advanced is a fully equipped system that implements widest range of methods in the product line. Capabilities and modes of the indentation head are enhanced by the AFM functionality, which allows an investigation of indent's imprints with nanometer resolution. The system provides capability of automated testing and batch data processing.
|
Configuration Wizard
Step 1: Frame size

|
|
Compact (1 head)
200x300 mm
|
Standard (2 heads)
450x400 mm
|
Advanced (3 heads)
550x450 mm
|
Step 2: Heads

|
|
Wide-range
nanoindenter module
|
Scanning
nanomechanical
tester module
|
Atomic force
microscope
|
Optical
microscope
|
Step 3: Sample stage

|
|
|
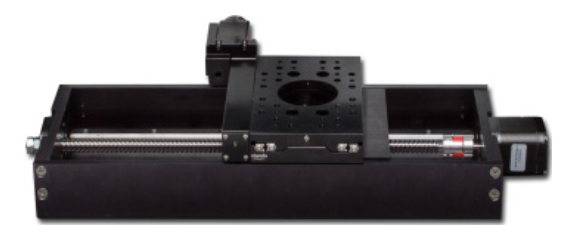
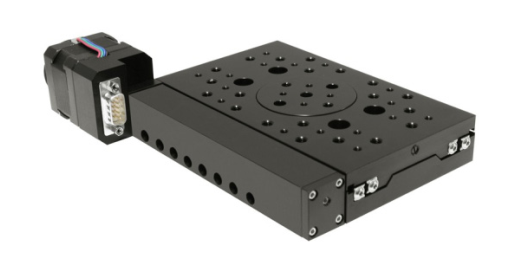
XY motorized
|
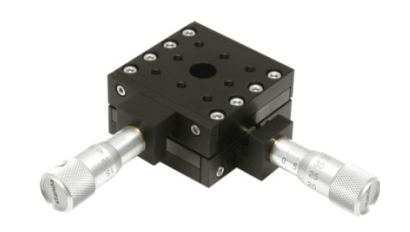
Manual
|

|

|
|
X motorized
|
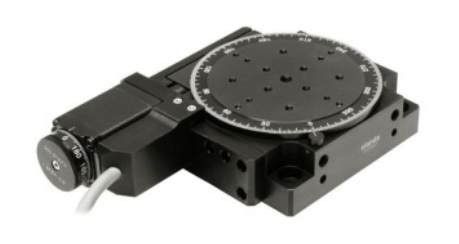
Rotation
|
Step 4: Extensions

|

|

|
|
|
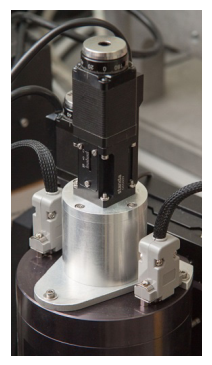
XYZ scanning stage
|
Lateral force sensor
|
Heating stage
|
Load extension unit
|
Step 5: Accessories & other

|
|
|
|
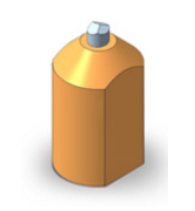
Vacuum chuck
|
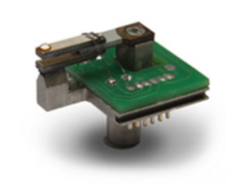
Probes
|
Indenters
|
NIOS Configurations Table
Heads:
|
|
Compact
|
Standard
|
Advanced
|
|
Wide-range nanoindenter module
|
+
|
+
|
+
|
|
Optical microscope
|
-
|
+
|
+
|
|
AFM
|
-
|
-
|
+
|
|
Scanning nanomechanical module
|
+
|
+
|
+
|
Positioning stage:
|
|
Compact
|
Standard
|
Advanced
|
|
Manual
|
Optional
|
-
|
-
|
|
X
|
+
|
-
|
-
|
|
XY
|
-
|
+
|
+
|
|
Rotating
|
-
|
-
|
Optional
|
Extension:
|
|
Compact
|
Standard
|
Advanced
|
|
Lateral force sensor
|
-
|
Optional
|
Optional
|
|
Heating stage
|
-
|
Optional
|
Optional
|
|
XYZ scanning stage
|
-
|
Optional
|
Optional
|
|
Electrical properties
|
-
|
Optional
|
Optional
|
|
High load option
|
Optional
|
Optional
|
Optional
|
Scanning nano-hardness tester NIOS

Additional units and sensors
NIOS nanomechanical testers have a lot of additional units and sensors. This extends the functionalities of the measurement system and provides a maximum level of device adaptation for customer's needs.
Measurement platform final configuration is selected depending on the customer's research tasks.
In order to deal with unusual research tasks it is possible to create new units, modify existing units and sensors and install on NIOS units from other manufacturers.
Lateral force sensor:
- Lateral force measurements during sclerometry and polycyclic abrasion
- Friction coefficient measurements during tribology tests
In-situ scanning unit:
- SPM mode for a surface topography visualization by diamond indenter
Heating stage:
- Maximum temperature: 400 °C
- Maximum heating rate: 1 °C/s
- Temperature stabilization: 0,1 °C
- Maximum sample dimensions (WxLxH): 25x25x10 mm
Measurement module of electrical properties:
- Current-voltage characteristics and current spreading measurements during mechanical tests
Sample holders:
- Vises
- Clamps
- Supports
- Vacuum cups
Rotary table:
- Mechanical properties anisotropy research
- Sample positioning expanded functionality
Indenters:
- Indenter tips made of doped and high-quality synthetic diamonds monocrystals
- Berkovich triangular pyramid
- Knoop four-sided pyramid
- Vickers four-sided pyramid
- Flat punch with a given diameter from 50 μm to 2 mm
- Spherical tip with a given radius
Reference samples:
Reference Sample (RS) is produced from a well-known material with special surface preparation. Reference samples are purposed for calibration of the NIOS devices and inspected to be compliant with established standards. Every RS has a passport of the RS containing standard metrology characteristics, application instruction and transportation and storing conditions.
Polycarbonate Reference characteristics:
- hardness: 0.21 ± 0.02 GPa
- elastic modulus (Young's modulus): 3 ± 0.3 GPa
- roughness: <5 nm
- dimensions: 10x10x7 mm
- surface preparation: —
Aluminum Reference characteristics:
- Hardness: 0.5 ± 0.1 GPa
- Elastic modulus: 70,0 ± 7,0 GPa
- Roughness: <5 nm
- Dimensions: 10x10x8 mm
- Surface preparation: polishing, electrolytic etching
Fused Silica Reference characteristics:
- Hardness: 9.5 ± 1.0 GPa
- Elastic modulus: 72.0 ± 3.0 GPa
- Roughness: <5 nm
- Dimensions: 7x10x4 mm
- Surface preparation: deep grinding-polishing
Sapphire Reference characteristics:
- Hardness: 24.5 ± 2.5 GPa
- Elastic modulus: 415.0 ± 35.0 GPa
- Roughness: <5 nm
- Dimensions: 25x5 mm
- Surface preparation: epi-polishing
